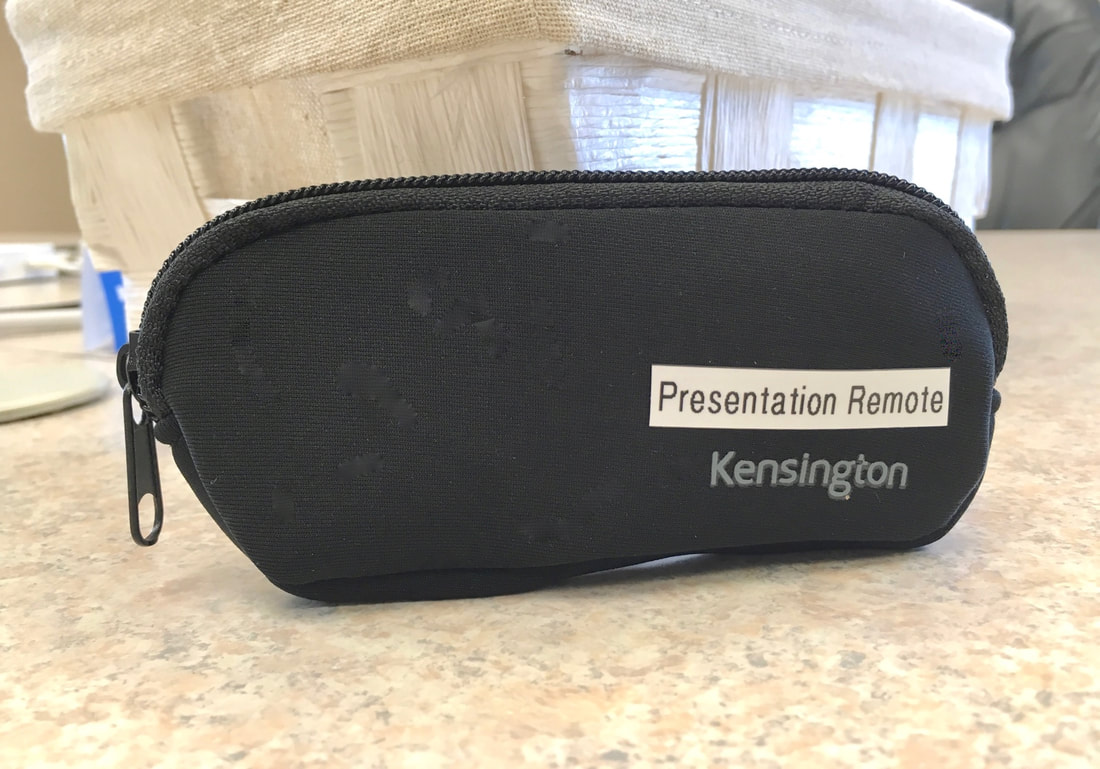
Locate the Presentation Remote
It normally lives in a black pouch near the other remotes.
It normally lives in a black pouch near the other remotes.
Laser Pointer
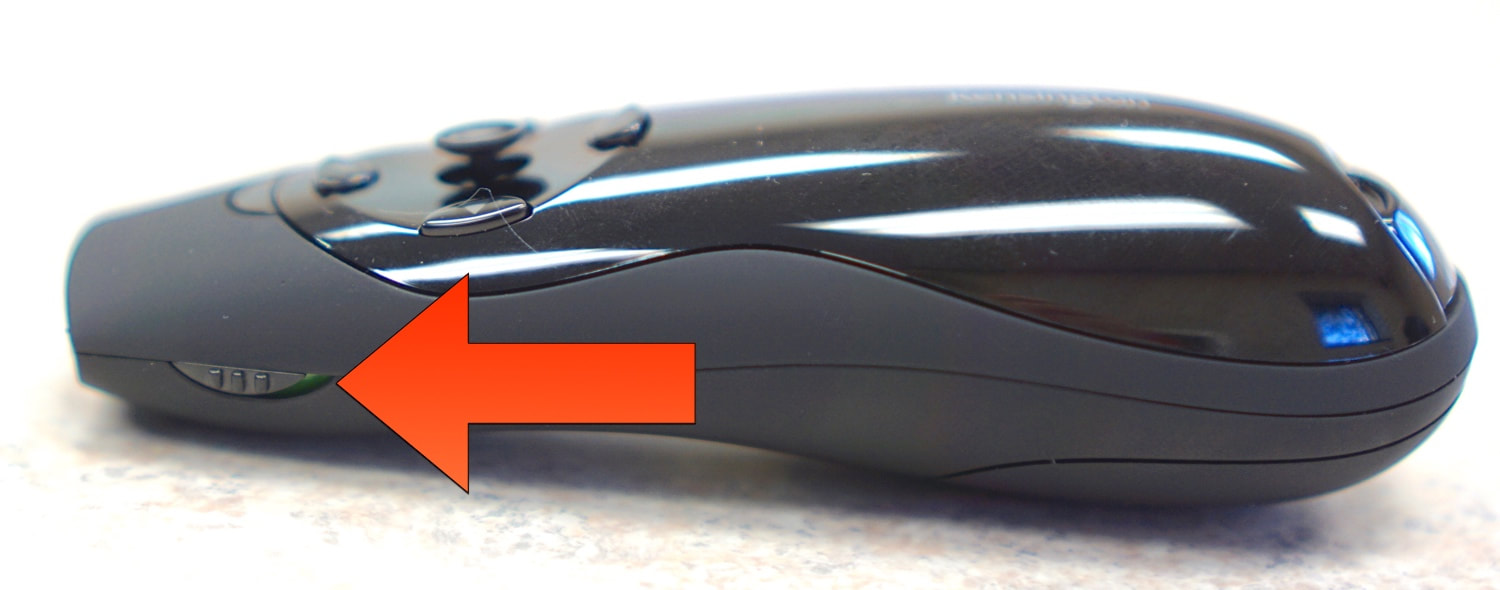
1. Turn the presentation remote on by sliding the left side switch forward so that green is showing under the switch.
1. Turn the presentation remote on by sliding the left side switch forward so that green is showing under the switch.
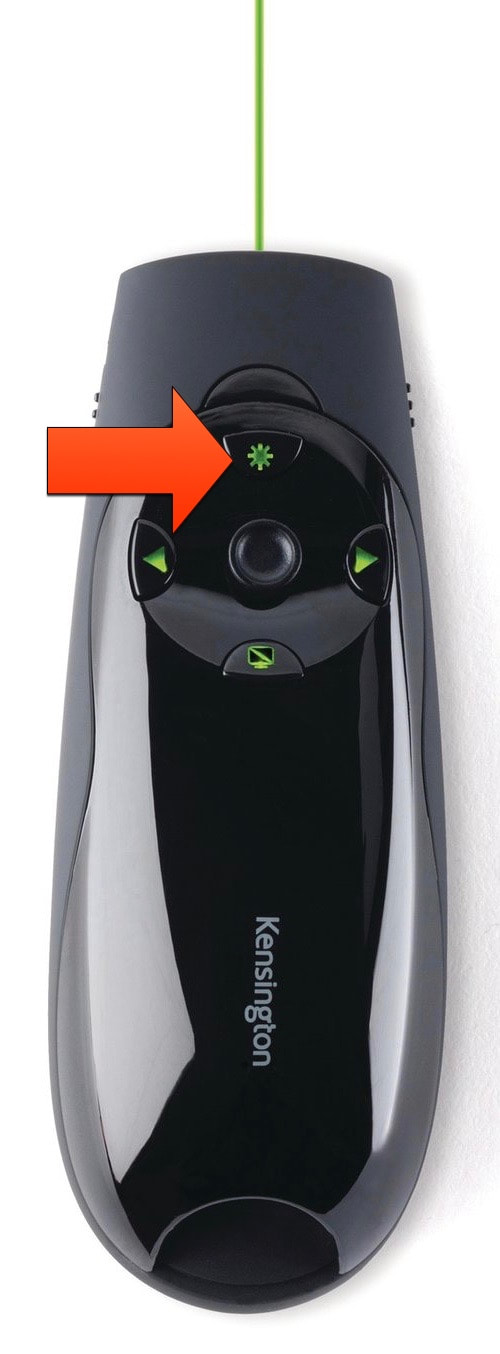
2. Press and hold the asterisk (star) button to shine a green laser.
3. When finished, turn off presentation remote and place back in its pouch.
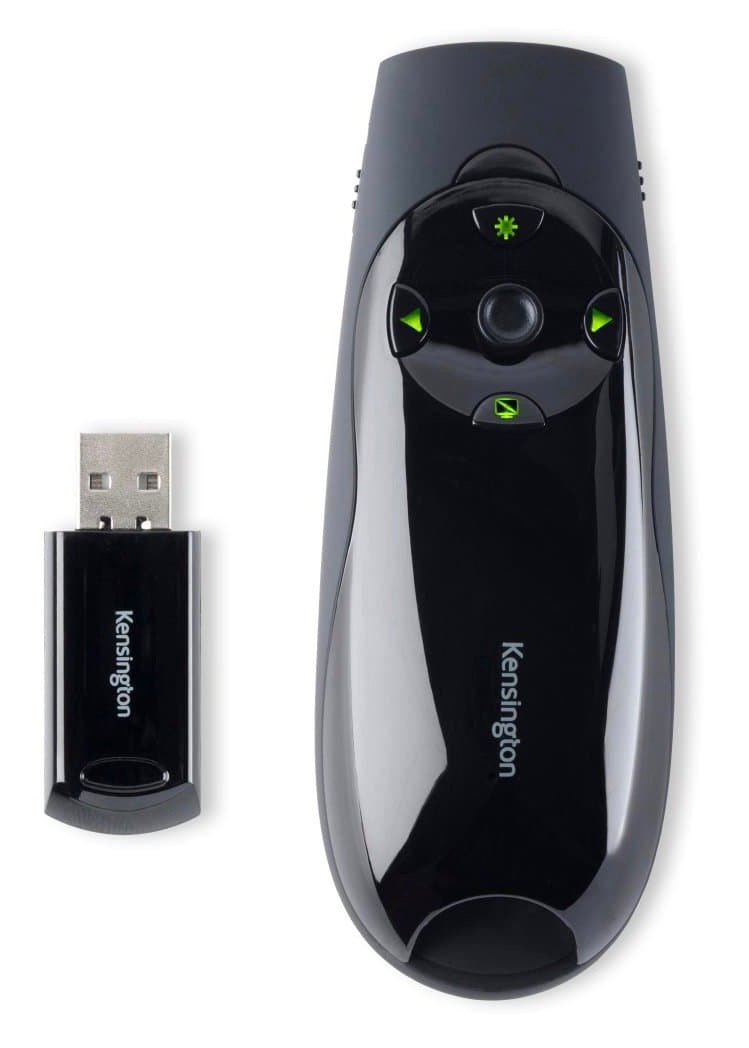
Presentation Remote
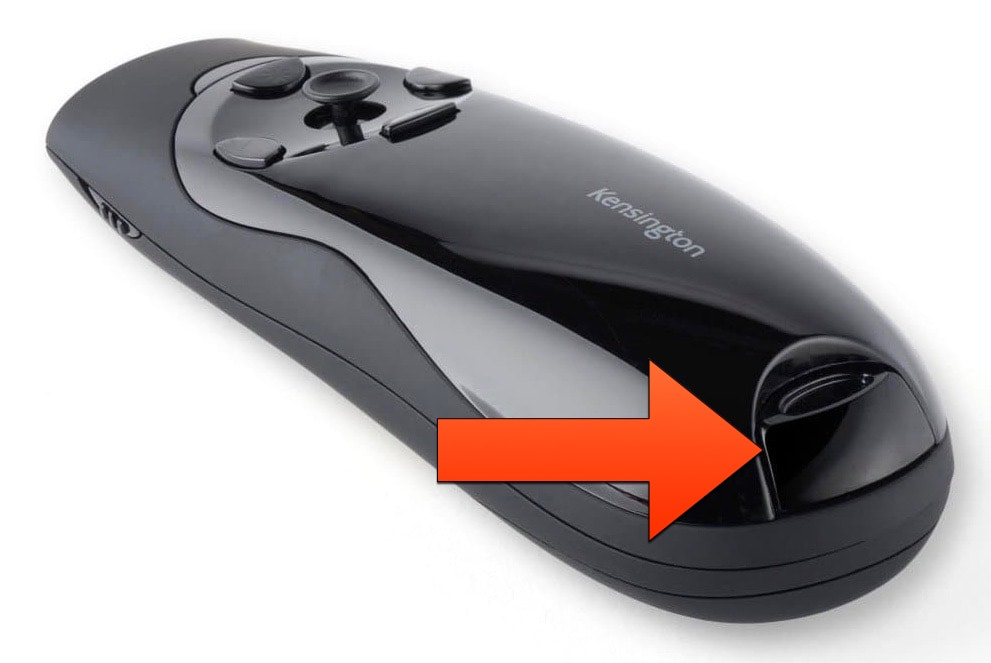
1. Remove USB receiver from back of remote (or track it down if the last person didn’t put it back in the remote)
1. Remove USB receiver from back of remote (or track it down if the last person didn’t put it back in the remote)
|
|
2. Plug USB receiver into your laptop.
- Mac users: If you see a Keyboard Setup Assistant window after you connect the USB receiver, just close it (it’s safe to ignore).

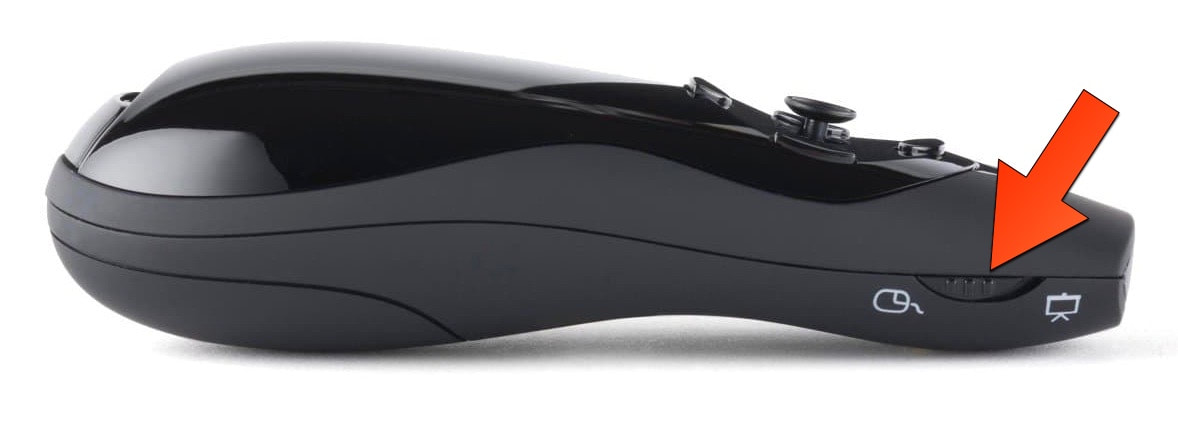
4. To control presentation slides (PowerPoint, Keynote, etc), the right side switch should be in Presentation Mode (icon looks like a portable projector screen)
- Buttons:
- Asterisk - green laser pointer (avoid shining it in people’s eyes)
- Right Arrow - forward one slide
- Left Arrow - back one slide
- Screen with diagonal line through it - toggle blank screen
|

|
5. To control the mouse, the right side switch should be in Mouse Mode (icon looks like a wired computer mouse)
- Joystick: move mouse cursor, press for left click
- Buttons:
- Asterisk - disabled
- Left Arrow - left click
- Right Arrow - right click
- Screen with diagonal line through it - disabled
6. When finished:
- turn off presentation remote
- place USB receiver in remote
- place remote back in its pouch